Read Our Latest Blogs
Simple DIYs, how to prepare your environment, product features, and so much more!

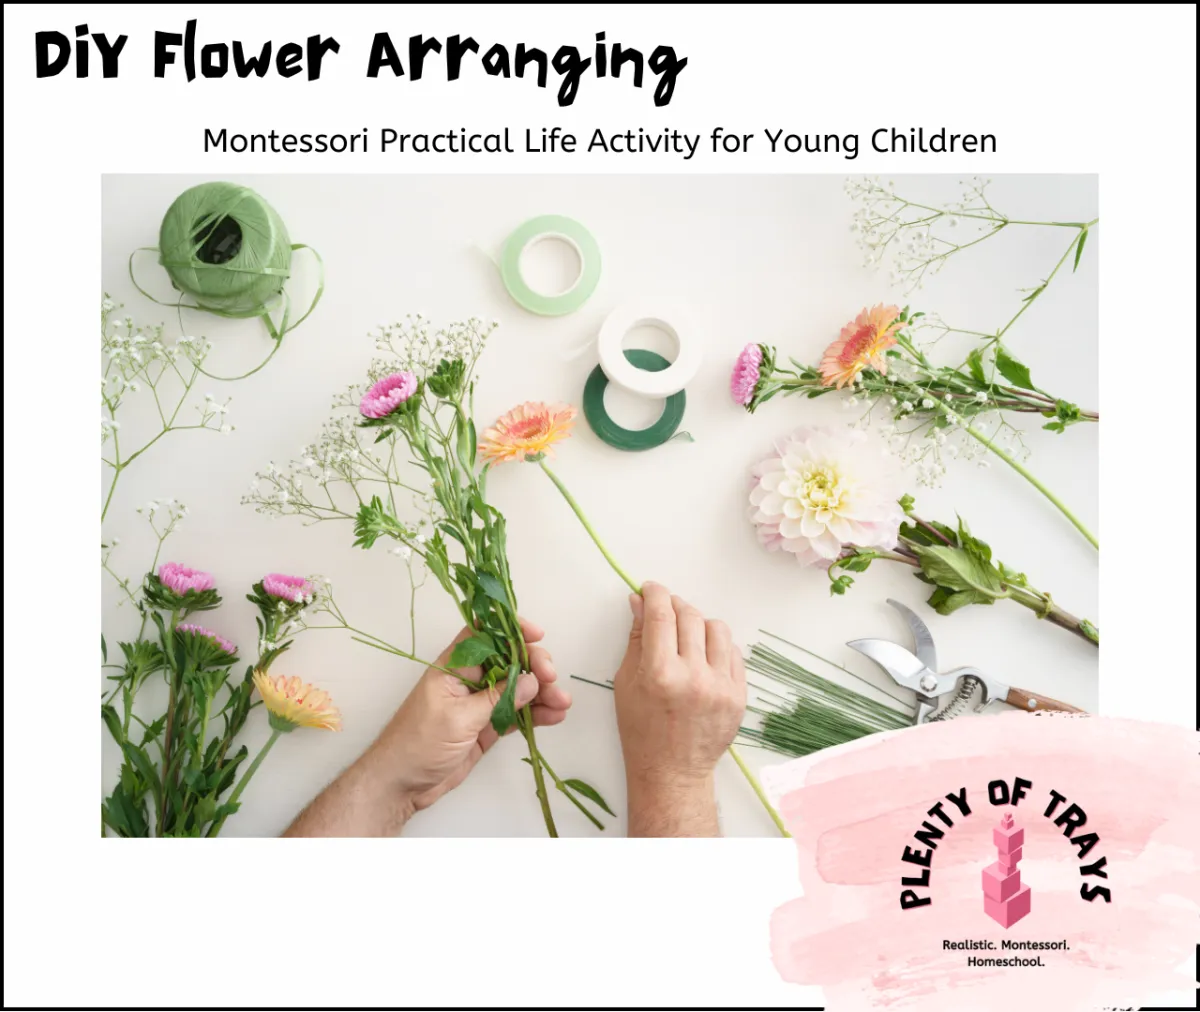
Montessori DIY Flower Arranging
*Disclosure: this post may contain affiliate links.
Flower (arranging) Power
Heads up: this is not your typical flower arranging. This is flower arranging on the cheap and with a bit more creativity.
For those of you who don't know what the typical flower arranging tray looks like or for those who want to do that, here's a link to a very complete tray. It's very similar to this one but you would use real flowers. You would show your child how to cut the stems, place the flowers, and add water.
I would love to be able to have fresh flowers in my home all the time, but that's not in the budget at the moment and winters are too long for me to grow them. Instead, we use fake flowers and to add some excitement, a floor plan of our home. This way, the kids can choose where they want to place the vases and see where the other kid put his vases.
Here's how you can do it too.
What you need for this DIY flower arranging:
Fake Flowers: I found mine at the dollar store but you can find some here too
Vases: garage sales and thrift stores but if you prefer to keep a certain color or theme you can buy some online
Floor plan of your home: I used a program called Floor Planner, but it did print a bit blurry. I think it would be just as fast to do it by hand.
Laminator: Here is the one I use. Another option could be to use cardstock or regular paper glued to cardboard and write on it with a pencil or put the plan in a sheet protector and tape the top shut
Dry Erase Marker: or pencil and eraser if you use cardstock
Basket: a tray could also work but make sure it has a tall lip so that the vases can't roll off
The first step is to create the floor plan of your house. This can be as simple or detailed as you wish. I tried to include the different spots or pieces of furniture that the kids could put the vases on (tables, counters, etc.). Laminate the paper.
Next you will take your flowers and vases and cut the ends of the flowers to the appropriate length. I place 2 vases per basket and try to use a tall one and a short one. That way, the child will notice that a flower with a super long stem won't fit in a super short vase.
Place the flowers, vases, floor plan, and dry erase marker in the basket and on the shelf.
Presentation
Bring your basket to the table.
Take out the vases and place them on your right.
Take out the flowers and place them on your left.
Pick one flower at a time and place it in the first vase. I like starting with the shorter one and purposefully taking a long-stemmed flower to show the child that it doesn't fit.
Keep placing flowers until you are happy with the arrangement.
Take one flower at a time and place it in the second vase until you have used up all the flowers.
Take out the floor plan and explain to your child what it is.
Mark down with an X or check mark where you will place your vases.
Stand up, tuck your chair under the table.
Look at the plan again and say out loud where you are placing the vase.
Then go there and place the vase.
Come back to your work and repeat steps 10 & 11.
Put the plan and marker back into the basket and return it to the shelf.
Variation
Switch out the flowers, switch out the vases.
Sometimes my children don't use all the flowers. I'm OK with this and have told them to just return any remaining flowers to the basket.
I take down the flowers and set up the basket about every two weeks but feel free to do as often or little as you like.
You can also use this work to build vocabulary and learn the different names of the flowers.
Buy It Instead
Here is the complete tray, as mentioned above.

Hear What Others Have to Say
Sarah

My 6 year old made us dinner all by herself last night with the meatball recipe and made a salad to go with it! It was amazing!
I almost didn't know what to do with myself not having to cook or help her. Thank you so much!
Re: The Independent Kid eCookbook
Chelsea

I just read your guide, it was really awesome! I am grateful for the 29 Montessori definitions to help me better understand some of the things I've heard at my daughter's school but never knew what is was. I can't wait to try your recipe with my girls and for you course to come out.
Thank you again!
Re: Beginner's Guide to Montessori at Home
Kellie

We don’t do Montessori (except in the atrium) but love following your page. I also ended up finally getting a kids knife set from Amazon and a small jug for pouring milk based on your recommendation ;) Am considering reorganizing my kitchen so kiddos can unload the dishwasher - they already help with cutlery and plastic items.
Will continue to watch your page and stories for inspiration!
Re: Social Media pages
Sasir

I am your subscriber from another country. Being a Montessori teacher of English for 3 year old kids i find your materials very useful. Thank you.
Re: Weekly email Newsletter

