DIY Color Wheel
Disclosure: This post may contain affiliate links.
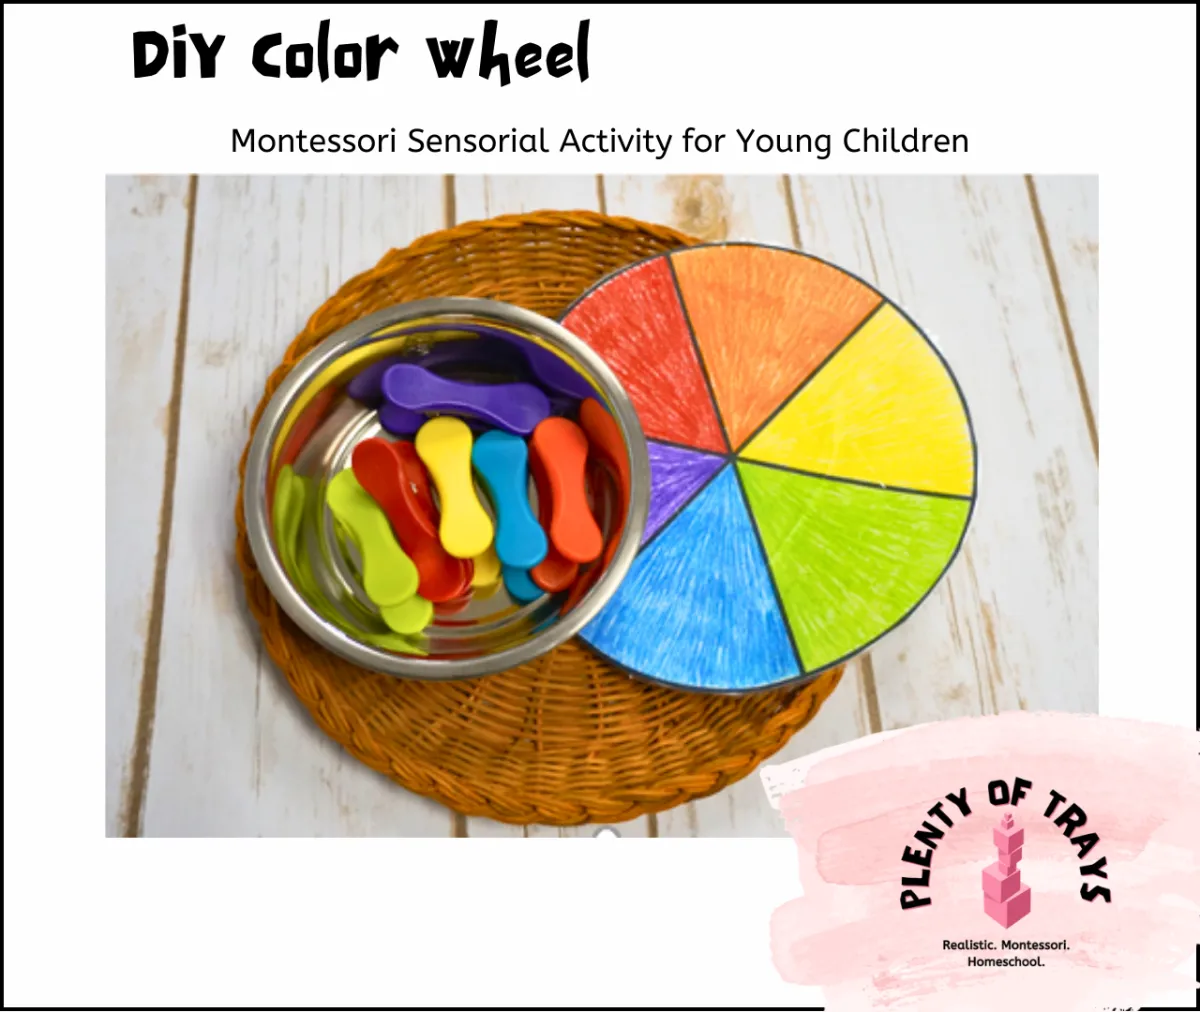
Learning colors with a Color Wheel
The Color Wheel is a simple matching work, perfect for even the littlest learners. This work gives your child all the benefits of sorting plus strengthening their hand muscles to prepare them to write, and learning colors.
First gather all your necessary materials:
Wooden Clothespins or Colored Clothespins - we bought ours at a dollar store
paper
markers/crayons/pencil crayons
cardboard or laminator
Decide on how many and which colors, depending on the level of your child. For the youngest learners it is recommended to start with the primary colors; red, blue, and yellow. Once this becomes too easy, add more colors and eventually bring out the gradient colors. We have a FREE printable gradient wheel and blank wheels in our shop.
Draw out or print off your wheel. If you bought colored clothespins, find the matching markers or crayons and color in each pie space. If you have wooden clothespins, color the clothespins and then the wheel. Feel free to enlist the help of your older children to color.

If you print out the pre-colored Color Wheel, cut out the wheel then cut out the rectangles to fit your clothespins. Glue or tape the rectangles on one side of the clothespin.
To make your wheel sturdier, you can glue it on a piece of cardboard or laminate it.
Presentation
Bring the Color Wheel tray to the table.
Place the bowl of clothespins in front of you on the left and the wheel on the right.
Chose a clothespin, name the color, then pin it on the matching color on the wheel.
Repeat step 3 until all the clothespins are on their respective color.
Take a moment to admire your work, then remove the pins, place everything back on the tray as it was.
Stand up, push your chair to the table, and return tray to the shelf.

Variation
To make easier, use less color.
To make harder, use gradient colors.
Don't forget to download your wheels from our shop.
